Best Phone Camera Settings for Real Estate Photos
Most agents never open their camera settings, and it shows in the listings. The default iPhone camera is built for snapshots, not for rooms with bright windows and dark corners. Five minutes of setup fixes the majority of what our editors would otherwise have to rescue. Here is exactly what to change and why.
Turn on the grid
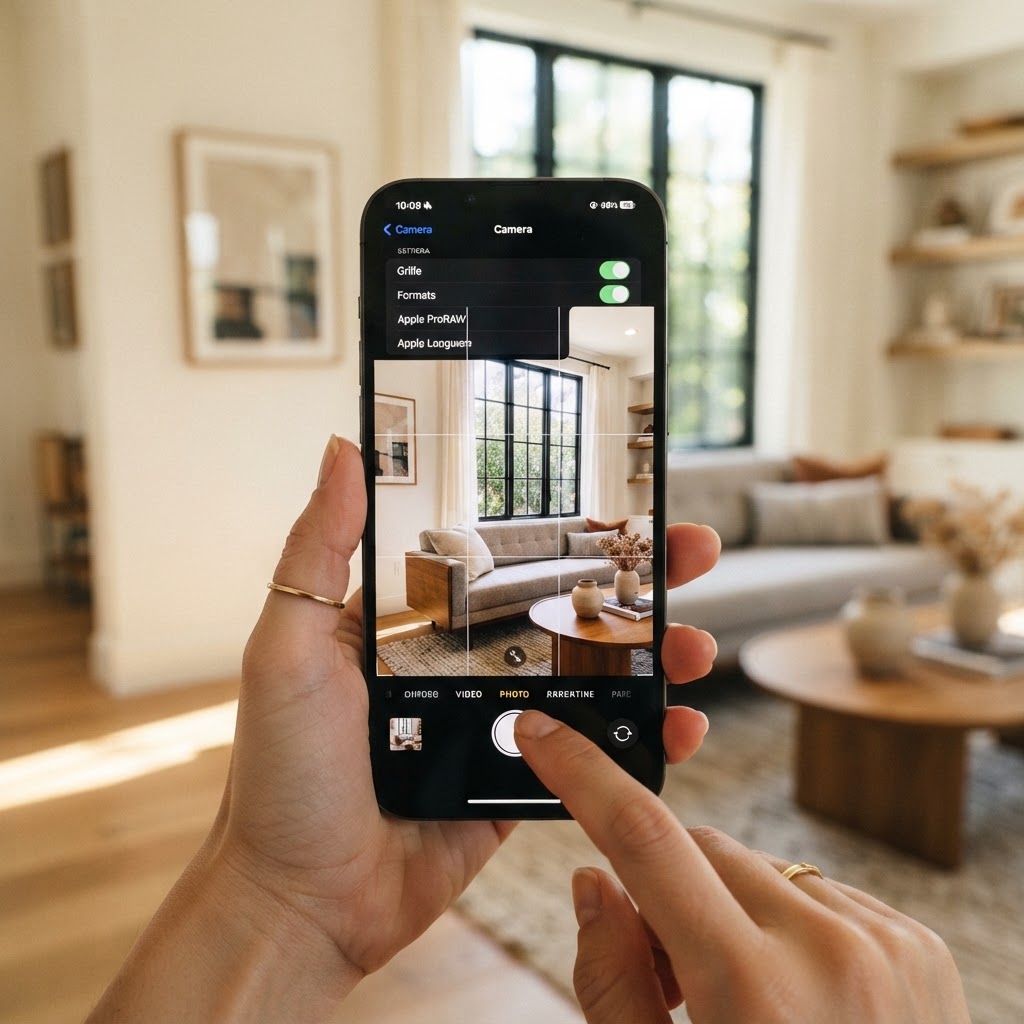
Settings, then Camera, then Grid. This overlays lines that help you keep walls and door frames perfectly vertical. Crooked verticals are the single most common thing that makes a room look amateur, and the grid is your fix.
Keep Smart HDR on
HDR captures the bright and dark parts of a scene and blends them, so a sunlit window and a shaded corner can both hold detail in the same photo. Interiors live and die on this. Leave it on.
Turn on RAW if you have a Pro model
Settings, Camera, Formats, then Apple ProRAW, and switch RAW on in the camera before shooting. RAW files hold far more information, which means the edit can pull back a blown window or lift a dark room without the photo falling apart. The files are big, so clear some storage first.
Skip the filters
Real estate photos have to be accurate, not stylized. A filter that looks great on a lunch photo will misrepresent the color of a room and can even raise MLS problems. Shoot clean and let the edit do the polishing.
Lock focus and exposure
Tap to focus, drag the exposure slider down so the windows are not glowing, then press and hold to lock it. Locking keeps the brightness consistent from shot to shot instead of flickering every time you move.
That is the whole setup. Get these right and the photos you upload are already halfway there. The other half, the exposure balancing, the window pulls, the color correction, is what we handle. Shoot it on your phone, upload it, and we send back MLS-ready photos the same day for a flat $100.
Want the shortcut?
Upload your next set at captureinfluence.com/express-edit.